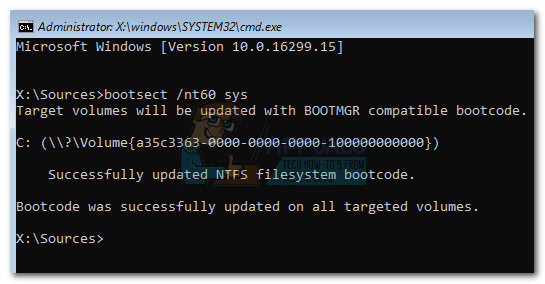
This utility is mostly used when the volume boot code (residing on the Windows drive) has become corrupt or was accidentally programmed to make use of the wrong boot manager. This will trigger a whole array of system-halting errors known as hal.dll errors in Windows Vista, 7, 8, and 10.
Note: Bootsect.exe is also used to Boot Configuration Data File is Missing error or to create a bootable USB drive. Luckily, the bootsect.exe utility is very efficient when it comes to correcting volume boot code errors. However, this boot sector restore tool is only available via Command Prompt – accessible from Advanced Startup Options or System Recovery Options (depending on your Windows version). Below you have a collection of step by step guides on accessing the Bootsect utility. Keep in mind that the exact steps of running bootsect.exe will be different, depending on your Windows version. Please follow the guide appropriate to your Windows version.
How to Use the Bootsect Utility on Windows 7
There are two different ways of accessing Bootsect on Windows 7. The ideal way would be to use an installation media. However, if your computer has the System Recovery Options pre-installed, you might be able to run the Bootsect utility without the installation media. If you have your Windows installation media, follow the guide directly below (Method 1) to run bootsect.exe. In the event that you don’t have the installation media, follow the second guide (Method 2) to access the Bootsect utility.
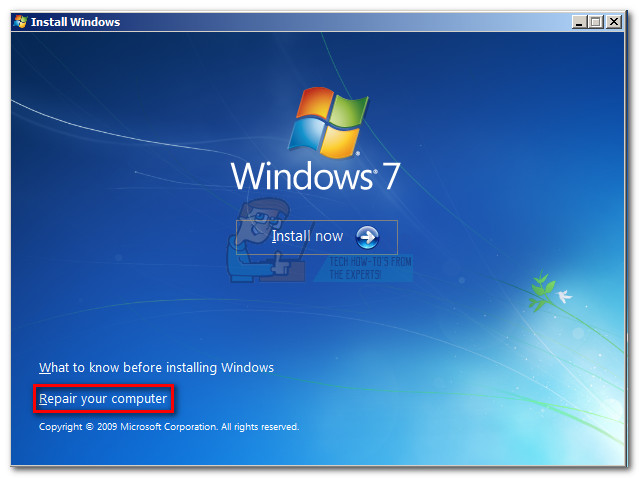
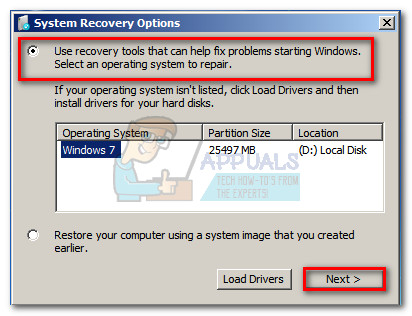
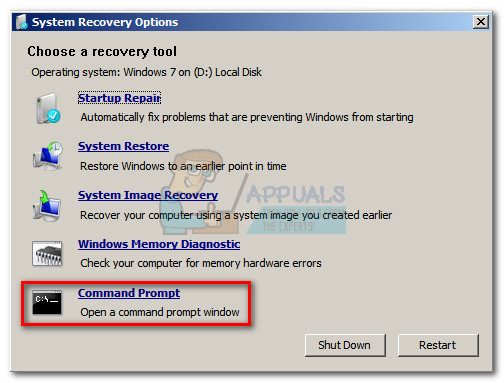
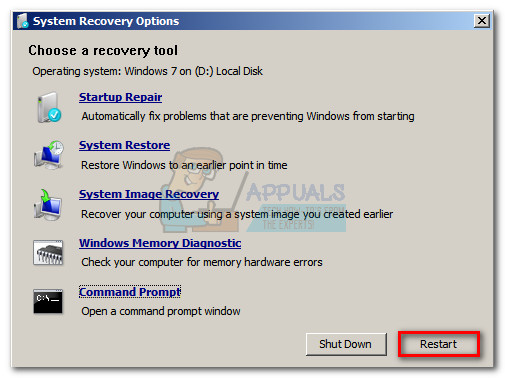
Method 1: Accessing Bootsect using the installation media on Windows 7
Method 2: Accessing Bootsect without the installation media on Windows 7
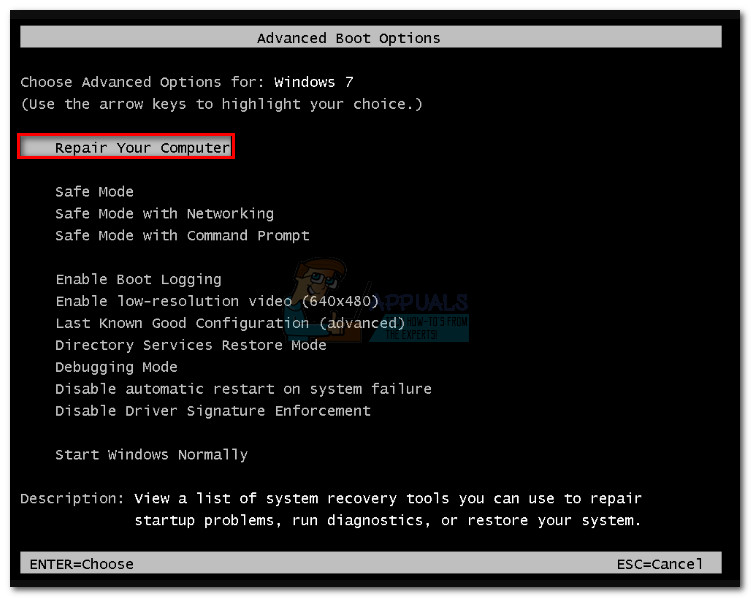
If you don’t have the Windows installation media, you have a couple of ways forward. You can either create a Windows installation media and follow the guide above or access the pre-installed recovery tools on the hard disk. In the event that you decide to create your own installation media, you can follow our complete guide to creating a Windows 7 bootable DVD or USB drive. Then, backtrack to the guide directly above and use it to run the Bootsect utility. Else, follow the steps below to access the pre-installed recovery tools. But keep in mind that not all computers come with recovery tools pre-installed. If the steps below don’t work, you have little choice but to create a Windows installation media.
How to Use the Bootsect Utility on Windows 8.1 and 10
Similar to the procedure on Windows 7, you can run the Bootsect utility in several different ways on Windows 8 and Windows 10. The easiest method will be to use the Windows installation media. However, there are several different other methods that you can use to access the bootsect.exe utility if you don’t have the installation media. If you own a Windows 10 installation media, follow Method 3 to run the bootsect utility. In the event that you can’t use the installation media, follow Method 4 to explore different possibilities of running bootsect.exe.
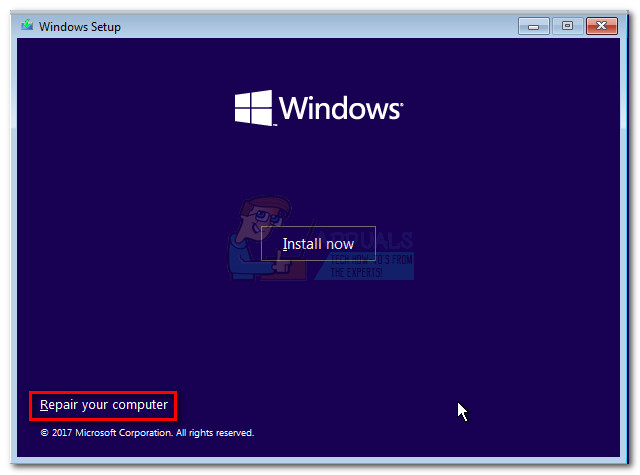
Method 3: Running Bootsect using the installation media on Windows 8.1 and 10
Method 4: Running Bootsect without the installation media on Windows 8.1 and 10
If you don’t have the installation media for Windows 8 or Windows 10, you can make use of several workarounds to gain access to the Advanced Startup menu and run the bootsect.exe utility:
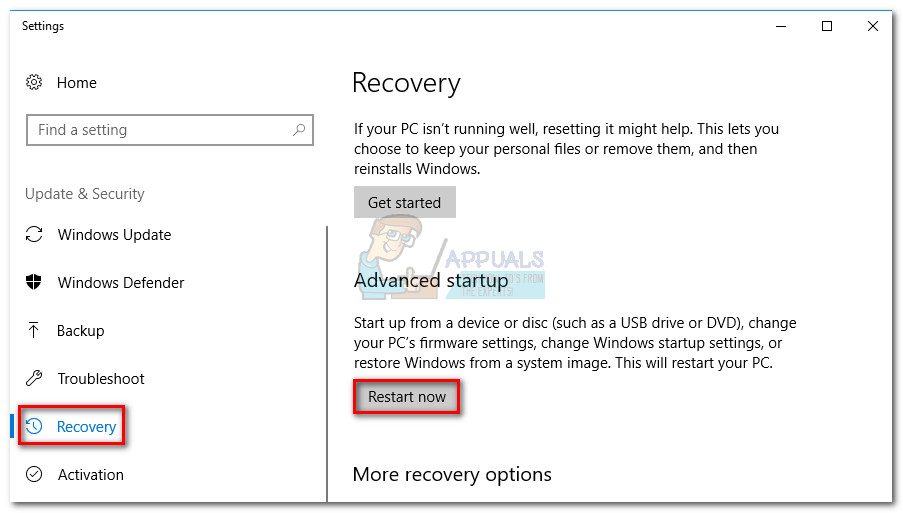
Follow this guide (here) to create a bootable USB drive for Windows 10 with Rufus, then follow Method 3.Force two (or three) consecutive failed attempts to start Windows. You can do this by shutting down your machine while it’s in the middle of booting up. This is by no means elegant, but it will force Windows to automatically start the Advanced Startup menu when booting up.If your computer is able to boot up successfully, you can force Windows 8 or Windows 10 to automatically restart into Advanced Startup. To do this, open a Run window (Windows key + R), type “ms-settings:” and hit Enter. In the Settings menu, select the Recovery tab, scroll down to Advanced Startup and click on Restart now.
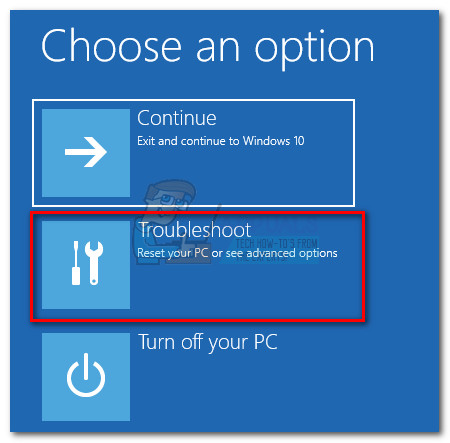
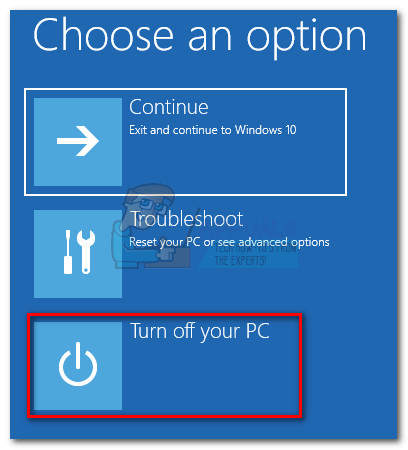
If you followed one of the instructions above, you should find yourself in the Advanced Startup menu. Once there, follow the instructions below:
What is “msedge.exe.exe”? and How to Fix It?What is pcdrcui.exe? How to Fix pcdruci.exe Corrupted Error on Windows?What is Msiexec.exe? Fix Msiexec.exe Access Denied Error on WindowsFix: RAVBg64.exe wants to use Skype